Thursday, October 4, 2018

Fauxidermy- Taxidermy Monkey Head


It's been a long time since I have posted on this blog. You can make sure to not miss any new things going on by going to www.mehuart.com , there I will link to my various pages. 

I watched a video on youtube of "Monster Tutorials" doing a Zombie Monkey Taxidermy, It was a cool Halloween prop of a zombie monkey done with paper mache.   You can watch it here:
https://youtu.be/Zi5vQvaJqxU


I decided that this looked like a lot of fun. He did a good job breaking it down into simple steps and materials and I wanted to try making my own.

I pretty much followed his steps except instead of the toilet paper I used paper mache clay. The paper mache clay was made by Jonni.  For the recipe, check out her blog here: https://www.ultimatepapermache.com/paper-mache-clay


First I found the base cardboard skull at Target:


Then I cut off the jaw, re-attached it open, glued on vampire fangs and homemade follow me eyes.


 The follow me eyes are made with those half marble glass pieces for flowers. I painted the backs using nail polish.


I then started building up layers of paper Mache clay. 


I wasn’t going from one type of monkey in particular. I mostly worked from my head just occasionally googling monkey and looking at general features. I didn't want a specific kind because this is just a Halloween monkey.

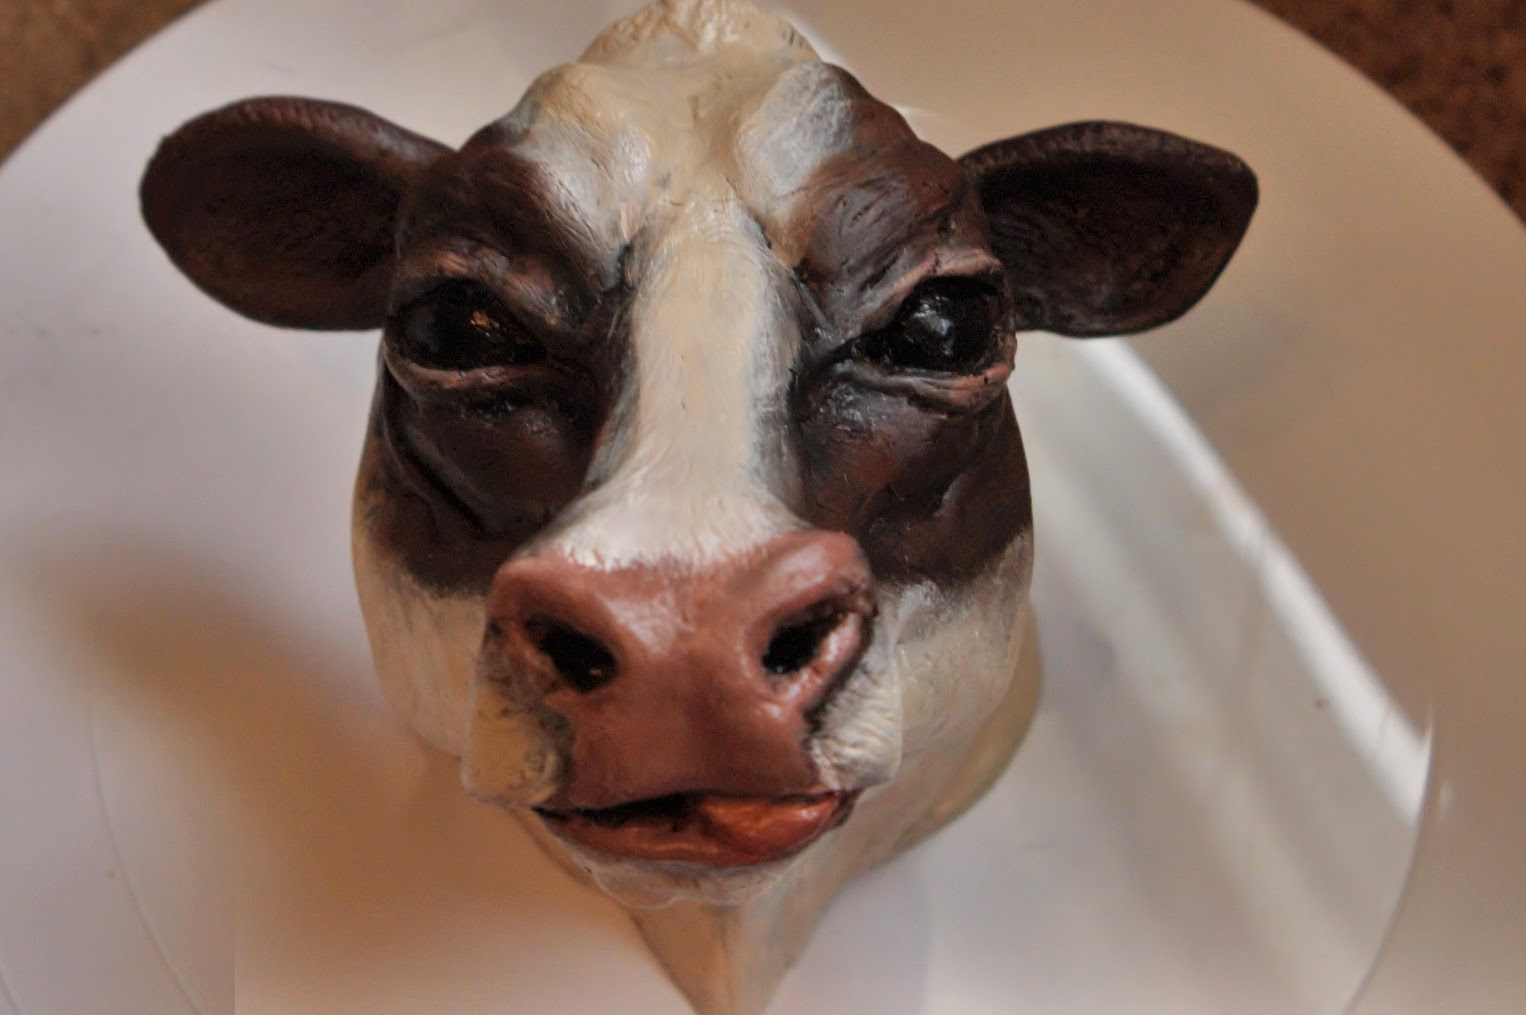
Once I got a shape I liked, I covered the teeth with clay, waited for everything to harden, and began painting. I did the first layer in black latex and did all subsequent layers in lighter and lighter acrylics.  While waiting for the paint to dry I also stained the wood base and covered it in a few coats of polyurethane.  

I went to the store and found some brownish fake fur. I brought it home and noticed my paint was too red/brown for the fur so I had to go over some areas and dirty them up with a yellow/black to better match the shade of the fur.

Once this was done I began hot gluing the fur to the monkey. I first did the large piece and then used the method with white glue to hide the edges like in the Monster Tutorials video.  I cut a solo cup for the head to mount on and I glued the head to the piece of cup and then the piece of cup to the board and trimmed up fur accordingly.


Overall I think it turned out alright for a Halloween prop/couple day craft.
I am just the one who made it. The idea is from Monster Tutorials. The paper mache clay recipe is from Jonni at Ultimate Paper Mache

To see more of my work go to www.MehuArt.com


Monday, January 19, 2015

3 day weekend Day 3

Day 3. Casting,  Sanding, Painting

Today I spent using the dremel tool to fix all the mold defects from the cow that I cast last night. I also sanded the base part flat.

I then sprayed it down with a plastic primer and let it dry. After that I started painting. I did a dark layer first to get into all the cracks and details and then worked my way lighter. My first coat will be completely painted over when it dries in a couple of days this first layer was just to fill in color. The next layer will clean up and detail parts and finally I will go back in and finish minor details once everything is dry.

I also cast another cow but had some air bubbles due to pouring the resin in 2 parts instead of a single pour and I poured a little too fast. I am purchasing some apoxy sculpt to see if there is any way to save it.

First layer of dark paint to fill in details then wiped off.

First layer of paint. Still wet. Marked off kind of the colors I want and where. Will paint details when it dries.

Another angle. Needs a lot of touch ups once it dries

The three heads so far. Front: dry head. Left: Wet head with 1 layer of paint. Right: Newly cast head with Bubble defect in ear.


Overall I think it was a pretty productive 3 day weekend. :)

Sunday, January 18, 2015

3 day weekend Day 2

Day 2. Sanding, Router, Casting

Sanded the mounts today and used my Router attachment on my Matrix

ooo smooth and rounded edges :)

And poured a LOT of resin to make another cow head. Going for 3 of these guys if I have the resin for it.


Fresh out of the mold cow. This is before I have cleaned up the seams or anything.
First painted cow next to fresh cast cow
Another angle of painted cow next to fresh cast cow

Saturday, January 17, 2015

Three Day Weekend Sculpture progress Part 1

After starting a new job and then Christmas commissions it has been a long break for me from doing some sculpture progress towards my series. I decided that since I have a 3 day weekend and since I have nice weather I might as well get a little progress done on my sculpture pieces.

I am still doing oil painting as well although I can do that on cold days and evenings so I decided to take this chance to get caught up with some sculpture stuff. I got to whip out some of my new tools. I got a new trim saw attachment for my Black and Decker Matrix from my mom for Christmas I also got new saw horses.


Day 1.

My set up. Normally I would do this in the yard away form the house but it was REALLY windy today.
New trim saw attachment on my Matrix. :) Next to it is the first cut I made with it. Does a very nice job cutting a straight line.

Safety first ;) Haha this was my temporary set up for the band saw. Just cut out three small things today.


A few rough cut outs of my base. Tomorrow I will sand these up and fix up the edges and then use the router attachment for my Matrix. Then  I will prime and paint.


Monday, September 1, 2014

Updated photos

I took some new photos of two of my paintings. I also did a new layer of paint on the resin cow. I have been sick the last couple days so my progress has been slower than I like. My goal is to finish this resin piece tomorrow morning so that I can take final photographs.


Here's what I got out of today:


Friday, August 29, 2014

Painting my cow. Also Art Focus

I was mentioned in Art Focus September/October 2014. I thought I would post that here. :)
http://issuu.com/ovac/docs/artfocus-septoct14?e=1732622%2F9113598


Also I thought I might as well post progress shots of the resin cow head. I started painting it to see how it would turn out.

I first used a white spray primer.
Then I air brushed brown and black acrylic to get into the lines.
Then I started painting with oils. Not sure if you are supposed to paint on Resin with oil but I figured I primed it and painted with acrylic, it was worth a shot.

Here are some photographs of my first oil layer. I plan to do at least one more layer of paint if this layer ever dries.  If this piece turns out I may do a series of them... more plans to follow.
Regardless I plan to cast some wax cows tonight or this weekend.
Before paint

with first layer of oil

first layer of oil


First layer of oil

First layer of oil


Moo!