Showing posts with label head. Show all posts

Monday, September 1, 2014

Updated photos

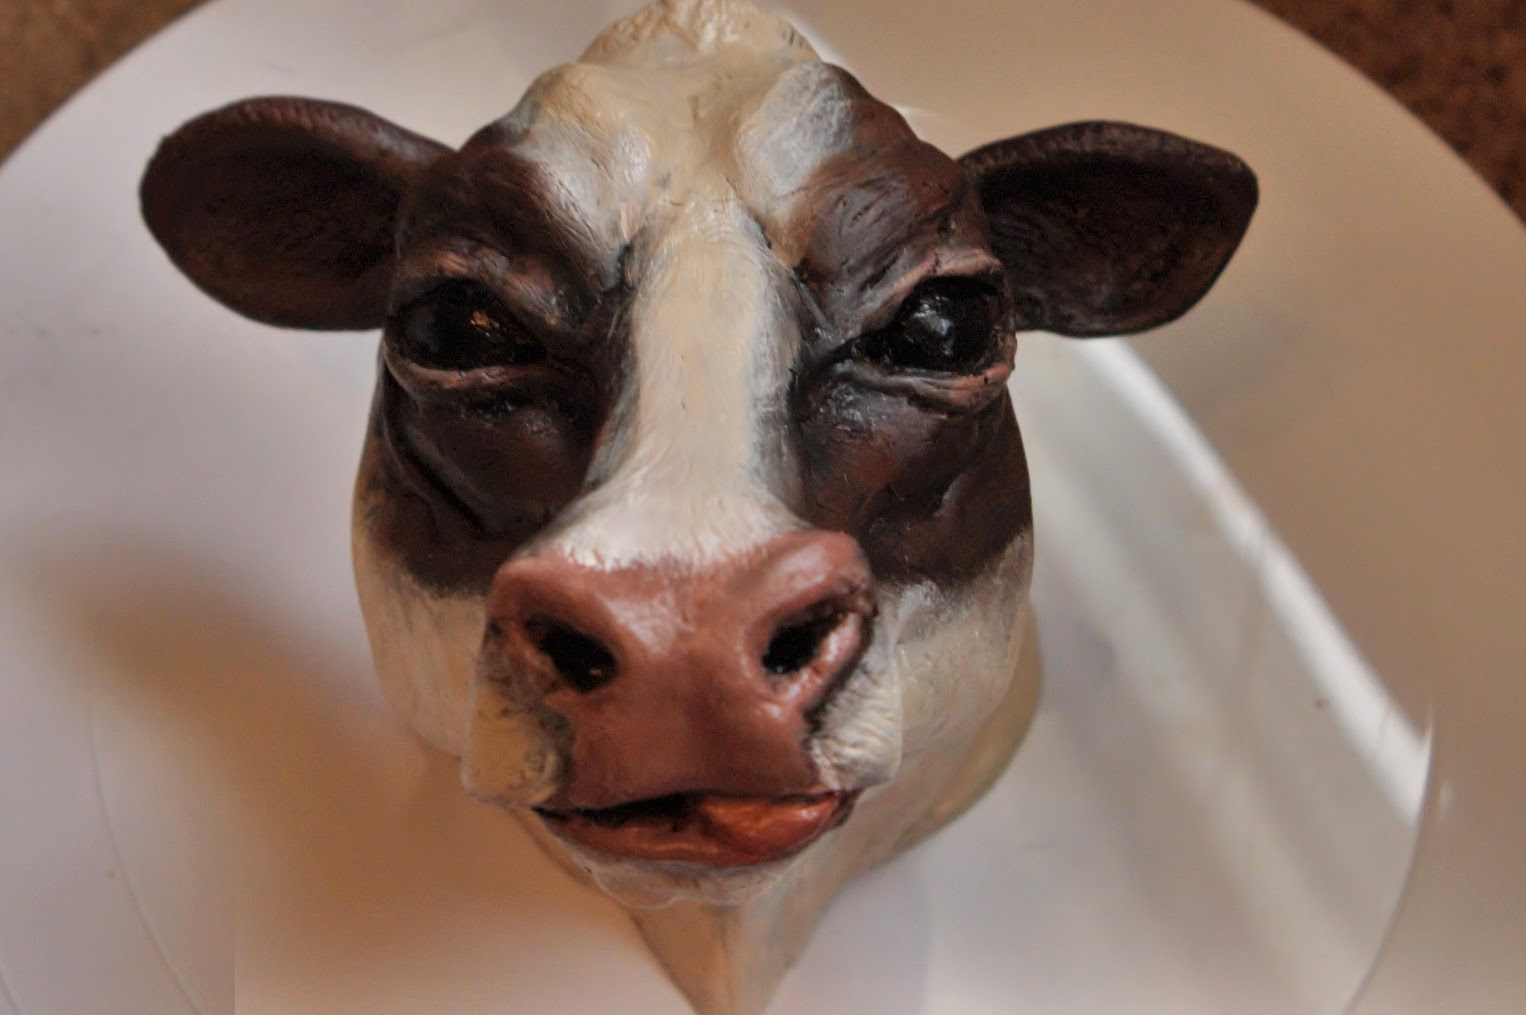
I took some new photos of two of my paintings. I also did a new layer of paint on the resin cow. I have been sick the last couple days so my progress has been slower than I like. My goal is to finish this resin piece tomorrow morning so that I can take final photographs.


Here's what I got out of today:


Friday, August 29, 2014

Painting my cow. Also Art Focus

I was mentioned in Art Focus September/October 2014. I thought I would post that here. :)
http://issuu.com/ovac/docs/artfocus-septoct14?e=1732622%2F9113598


Also I thought I might as well post progress shots of the resin cow head. I started painting it to see how it would turn out.

I first used a white spray primer.
Then I air brushed brown and black acrylic to get into the lines.
Then I started painting with oils. Not sure if you are supposed to paint on Resin with oil but I figured I primed it and painted with acrylic, it was worth a shot.

Here are some photographs of my first oil layer. I plan to do at least one more layer of paint if this layer ever dries.  If this piece turns out I may do a series of them... more plans to follow.
Regardless I plan to cast some wax cows tonight or this weekend.
Before paint

with first layer of oil

first layer of oil


First layer of oil

First layer of oil


Moo!

Thursday, July 24, 2014

Summer Sculpture fun

Here is a progress dump of sculpture stuff from the end of the semester and into the summer.
Here is the cow head in oil clay. I showed this one in an earlier post.
It is larger than my previous cow heads and is meant to replace them.
With Brush on Silicone


Beginnings of mother mold. it will be 3 parts


Home made Chevant melting box so that I dont have to buy a
toaster oven. I am starting to work with hard chevant clay.

Melted Chevant on a screw


Bald mini chevant head on a screw
Looking like Sir Patric Stewart.  I think I will keep working
on him as such. Just practicing detail with the chevant on a
small scale.. no real plans for this.
Random shelf in my studio

Small clay model for my large foam dog I was working on.
It's raining foam!!- I want to continue with this project but it
is so messy!
 

Yep. Those are the highlights. Pretty simple. I have been doing more painting than sculpting this summer but I am playing with the chevant and finishing up the new cow heads.


Friday, July 11, 2014

Art Focus!


Here is another progress pic of my oil painting in progress... it's been slow and steady. I have been working on it here and there while getting some other work done this month. I added some detail to the water droplets on the cows nose today. :)
Previous Progress

New Progress


Water on the nose


ALSO! I had a photo of my work in Art Focus Magazine this month. You can see it Here

here is a photograph of it if the link doesn't work for anyone.

That made me pretty happy to see. :)

Thursday, April 17, 2014

Early April progress dump


Now that the show is finished I have been working on a few pieces to finish up the semester. I have two pieces going in sculpture right now. One is a life size dog that I am carving out of foam (photos to come later) and the other is a new miniature cow head to replace the cow heads in Faux Bovinae that I sold. The mold for that piece got ruined and so I decided to sculpt a new similar one out of clay and make a new mold. I also decided to make the piece a little bigger. This one is probably 150% to 200% as big.

I am still in the clay sculpting part.. smoothing lines and bumps getting the shapes how I want them.


I plan to finish sculpting them this week and make the mold as soon as my new silicone is delivered.

After a few mins (32"x34")


As for oil I have started working on another close up of a drooling cow. It is in very rough stages but I took photographs to kind of show my process for my underpainting.

It doesnt look like much now but after I spend a few hours on it and add some color layers it should start to look like a drooling cow nose. Haha
After about an hour (32"x34")


I also wanted to share that I got portions of a paper I wrote published on the Oklahoma State Museum of Arts blog. It isn't the entire paper but rather selections from it. I researched Pablo Picasso's Toros en Vallauris. Check it out here.
http://osuma.files.wordpress.com/2014/02/picasso-toros-en-vallauris-1955.jpg


I also recently got written about by Her magazine for Oklahoma state as one of the campus celebrities. Which is kind of fun. Check that article out Here.
Senior art exhibition at Gardiner Gallery on March 31, 2014 


We also went to Kansas City as an art department a few weeks back. I would like to upload some photos from that trip on here later possibly. It was very fun. We visited a lot of museums and galleries in the area.

Thanks for reading. I plan to post more photographs of progress and the trip very soon.

Friday, March 21, 2014

Spring break crunch

It's been a very busy spring break. I have been putting in many hours getting everything gallery ready for the show. I still have a few things left but I am getting closer.

I have five of the melting photos from Underneath mounted on 20" x 30" mounts I made for them.

I also finished my miniature melting cow heads which is called Faux Bovinae. It features a series of five wax cow heads mounted to wood and melted in progression. One non melted and on the other end one very melted. I plan to hang them rather high up so that they are looking down/the viewer is looking up at them.

Mounting boards in progress

Wood mounts cut, routed, primed, and painted


One of the cow heads before melting
Cow heads arranged so you can see them all at once. Top one is not melted, bottom right is most melted.

from least melted to most melted

Test hung on wall to make sure everything is sturdy, The closest cow is the most melted.


Wednesday, January 29, 2014

Photo dump (Underneath) Melting Wax Head

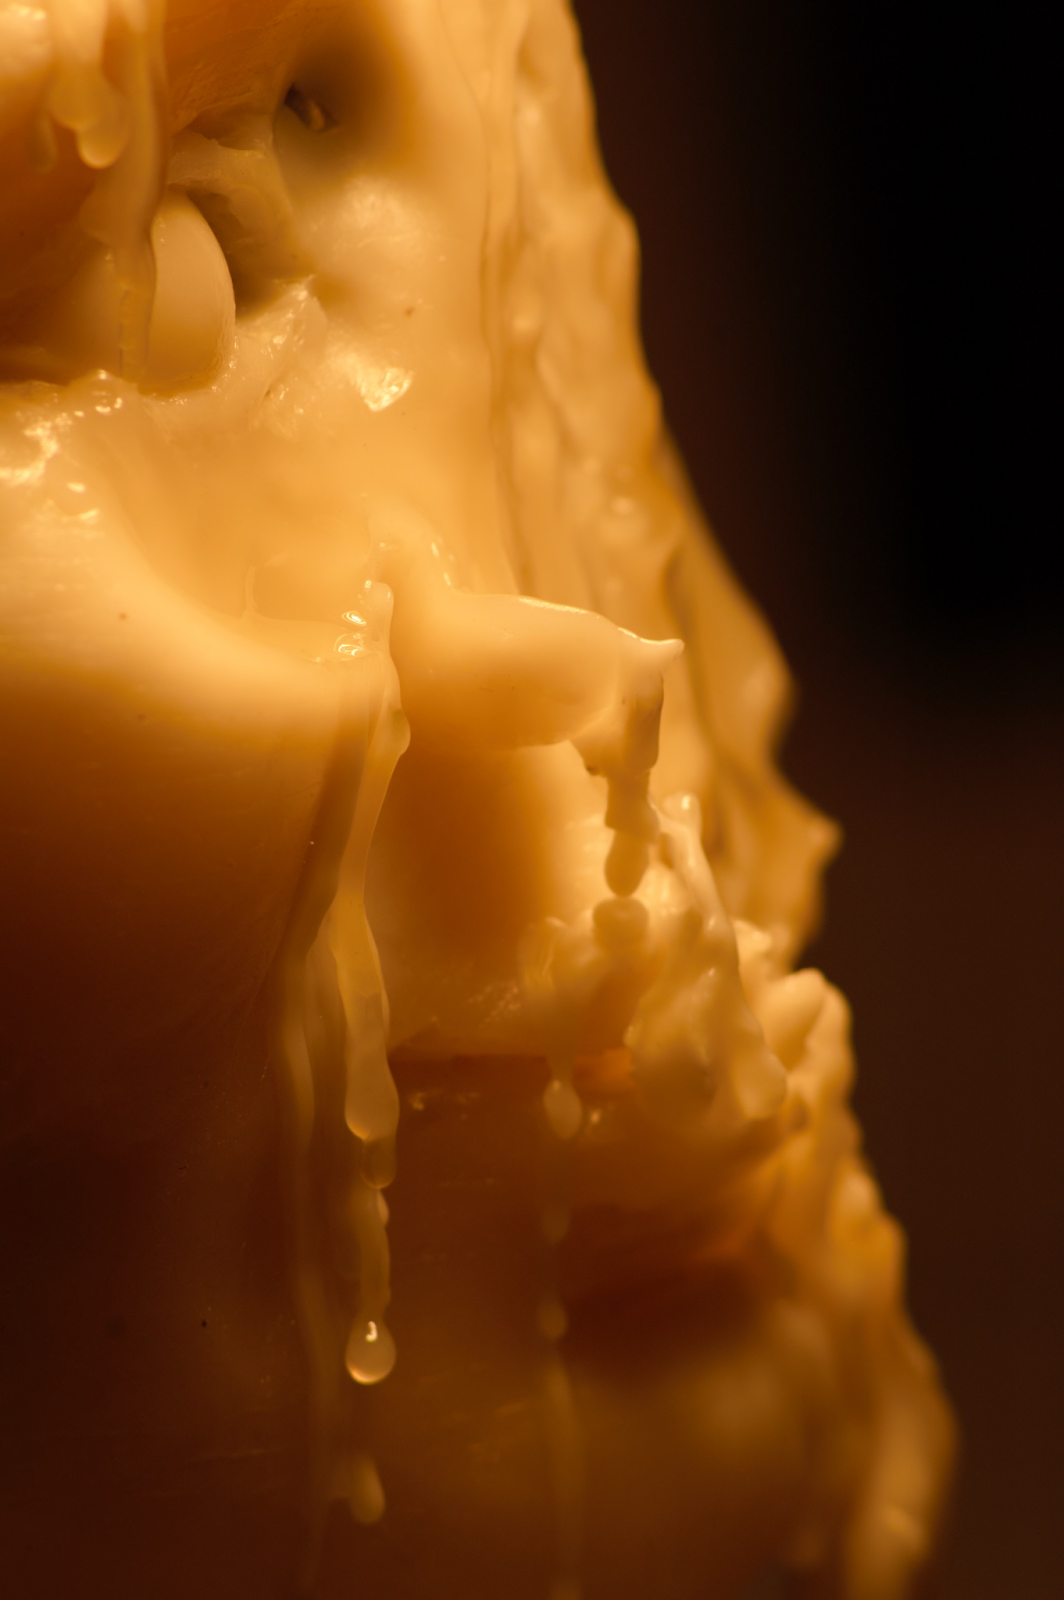
I added a few of the photos from my melting wax head project that I did.  It is a beeswax cast of a head I sculpted over a shiny aluminum head shape that I cast.  The process took around four hours. I documented with photo and video. I may do another melting of this one this semester.


 Check out more of the photos on this page:

http://mehusculpture.blogspot.com/p/meltting-wax-face.html


http://mehusculpture.blogspot.com/p/meltting-wax-face.html

http://mehusculpture.blogspot.com/p/meltting-wax-face.html


Tuesday, January 28, 2014

Final Semester Progress Update #1

I thought it might be a good idea to post some of my progress this semester. I have been very busy. I jumped right into finishing where I left off last semester. I planned over the winter break and rewrote a lot of things like my artist statement and bio. I also did a lot of sketching and planning. As soon as the semester started I got to work finishing my melting platform.

I melted the first wax head. (The one with the aluminum core). I found that the aluminum pulled the heat out of the wax quickly once I got down to the final layer.  I also melted another chocolate cow.

I have well over 50GB of video footage from the melting process. I plan to spend a lot of time in the next few weeks editing it down and seeing if it is presentable in that format. I also have photos which I plan to post later tonight.


For oil painting I started out by beginning a new painting to go along side of my drooling dog painting. It is the same size and format. 32x34. I would like to see these two together with possibly a projector projecting dripping water/drool from them.  The cow is still in progress. I plan to add some food in his mouth. (He was eating some kind of weed or grass when I took the reference photo). I also plan to add more detail and contrast. This is still pretty early on.


Thursday, December 5, 2013

Ceramic cow. Wax heads

Posting some progress pictures. Got my ceramic cow head back from the kiln.
It turned out differently than I expected. I will post before and after pictures here.
Also got another wax head poured and started to fill in the gaps on my other one.


This is before it went in the kiln. The way I painted on the glaze

Another before shot


After.... The glaze did what it wanted I guess? I kind of like the color but I dont claim to understand how or why.
This is white slip sprayed on with gold plum brushed on in the gas kiln.  It turned out interesting/


I only glazed the mouth and tongue white from what I can ramamber so interesting that it got color. I kind of like it.

The right side of the cows head (left for you if looking straight on) got a lot of weird color variation. Almost a grey/green color.. I am thinking it is just how the glaze ran over the slip but I have no idea really.

Hole in the back. Original thinking was it could hang on a wall. Could also plug it with some wax or something and use it for a vase. haha

COW NOSE!!

from above


another angle

from below

Another angle

I kind of like how shiny it is.

moo.

I cast another under head (core) in plaster so that I could do a second wax head.

Plaster under head after I sanded it and cleaned it up a bit

Sealed it with denatured alcohol and shellac.
after a coat or two of shellac
'


I cut myself a piece of wax to fit for an eyelid on my first wax casting.


After attaching. It still needs some cleaning up but it has its eyelid now at least

I started to patch up the empty spot on the neck. The wax is white when hot. I am hoping it will yellow up to match the rest of the head after a day or so.
A second wax casting of the head. This one over the plaster head core.


Two wax heads and one clay head

Here are the three creepy heads together. Front head is new wax. Right head is old wax (yellows overnight) on top of aluminum and the left is the original clay head.